Showing posts with label #MeatFreeMonday. Show all posts

Monday, 28 October 2019

Stuffing Stew.

Yesterday morning the house inadvertantly smelled like Christmas as I decided my one mission for the day was to use up some of the store cupboard stuff to make a soupy stew for the quick meals for the next few weeks whilst J went to the Allotment Society AGM.

So pearl barley from the store cupboard has joined leeks and parsnips from the freezer, and lots of sage and thyme to make a soupy stew that I think will work on it's own or with a veggie sausage or similar as a more substantial meal.

Just be aware that my post-chemo taste-buds seem to only be responding to super-herby flavours at the moment that you might need a bit less flavouring than me if you play with this one but trust me it makes the house smell glorious.

Leek, Parsnip and Barley stew

  • c. 1 tablespoon oil
  • c. 250g leeks
  • c. 250g part-boiled parsnips
  • c, 100g pearl barley
  • 3 tablespoons dried sage
  • 2 tablespoons stock powder
  • 2 tablespoons onion powder
  • 1 teaspoon dried thyme
  • black pepper to taste
  • c. 2 litres of boiling water


In large saucepan - makes at least 5 portions

  • Put oil parsnips and leeks and lightly fry until the veg softens and takes on a little bit of colour.
  • Add herbs, stock and enough water to cover to about 2 cms below the pan rim, bring to the boil.
  • Add the barley and simmer for c. 30mins. The barley will absorb the water so you need to keep a bit of an eye on it to make sure it doesn't catch. Top the pan back up with boiling stock to same level as previous and simmer until barley soft.
  • The final result is a thick brothy type soup that looks a bit beige but tastes great. I might add some peas or something else with a bit of colour to it when I warm up the portions.

All ready for freezing


Sunday, 13 October 2019

And the wet weekend continued...

Judging by the blogs I've peeked at this morning a lot of us have let the weather inspire us to play in the kitchen this week! The weekend pretty much followed Friday's pattern as it was pretty darn wet underfoot and grey throughout Saturday. This meant I ended up doing some more "let's use stuff up" cooking - this time with some of the veg in the freezer - Cauliflower & Pine-nut Macaroni Bake - before putting my feet up with my book and some music and a couple of episodes of Made in Bolton on the I-player whilst making some more cracker innards and J popped into town to run some errands. 

Sunday also ended up being a kitchen morning as I played with making some spicy apple muffins using the food processor. They worked out well so that's one more thing I can manage on good days. Lunch was easy as we had leftovers from Saturday's bake with some veggie sausages and of course, the muffins had to be taste tested too! The rest of Sunday has passed quietly watching TV and reading again. The sun did eventually break through mid-afternoon but by that time I was back in low power mode so no more chores for me.

So, for today's post another recipe and this one is even a vegan one - although you can grate a bit of cheese on top if you really want!

Cauliflower and pine-nut macaroni bake

Makes between 4 and 6 portions in a 2 pint casserole


Put
About 250-300g cauliflower
4-6 mushrooms chopped
1 cup of wholemeal macaroni or other small pasta - cooked until just tender.
Approx. 500ml tomato sauce - made with passata or tin tomatoes, 1 medium onion, 2 dessertspoons mixed herbs, 1 dessertspoon sage and ground garlic and pepper to taste
100g bag of pine nuts - toasted dry in a fry pan.

Into a 2 pint casserole dish 
Stir all the veg, cooked pasta and pine-nuts together in the dish.
Pour the tomato sauce over the top making sure it gets all around all the veg
and pasta
Bake Gas 5 for about 30-40 minutes until piping hot and bubbling well.

Enjoy!

Friday, 11 October 2019

Wet Friday in the kitchen

My first Friday without chemo for a month has arrived with a thoroughly autumnal start. It's steely grey and tipping down out there so no outside pottering for us today. Instead, a bit of kitchen time. The weather demands something warm, filling and hopefully tasty for lunch so bring on our Runner bean chilli.


Dried runner beans
Runner beans grow to be big, chunky and prettily speckled purple beans that, when left to form in their pods and dried, make a great base for burgers, bakes and other other tasty dishes as they take on herby and spicy flavours well.


Veggies in
This recipe not only uses our homegrown beans it is also great way of using up any veggies lurking in the fridge or drawer that might be a bit past their best so as usual play with whatever combination you have to hand if you haven't got something on my list. 


If you don't have dried beans any 400g tin of beans will be fine.

How and what - Makes at least 6 portions.

Soak 200g dried runner beans overnight and then cook them for about an hour until tender. Throw away the cooking water for these as you would for kidney beans.

Chop and lightly fry a medium onion plus c.150g mushrooms and a large courgette. Added crushed garlic or garlic powder to taste.

Add a washed and chopped medium carrot or two and a small splash of water if it looks in danger of sticking. Cover and simmer for about 10 minutes

Add about 500ml of passata or a 400g can of tomatoes. Then stir in a tablespoon of vegetarian or vegan pesto plus about 2 tablespoons mixed herbs, chilli powder, pepper and salt to taste. Bring to bubble, stirring to mix all the flavours and then add the cooked beans. Cover and simmer for about 40 -45 minutes until everything tender and the flavours have had a chance to mingle.

If you have time it's worth leaving the cooked dish to stand for awhile to let the flavours develop and then bring back to bubbling before serving with wraps, tortillas or rice.


Bubbling away nicely
I quite like a bit of grated strong cheddar on my tortilla too but this is usually flavourful enough not to need it if you prefer to keep it Vegan. 

This is one of those things that works well made in a big batch and portioned out for freezing and using another day. This pot gave us lunch for two today and at least four more portions for the freezer. As with most chilli related things if you can make it the day before you want to eat it then the flavour will be even better. 

I've also made a variation in the slow cooker but you will have to play around a bit with quantities and liquid levels to suit your crockpot.

Monday, 15 July 2019

Green Risotto

Fridays pickings turned into a very tasty Saturday lunch - although next time I might plan for a cooler day before making risotto!

There was enough here for at least 3 and probably 4 people depending how hungry/greedy they are feeling.

What went in:

2 small onions finely chopped and lightly fried
11oz/300g mixed peas and broad beans
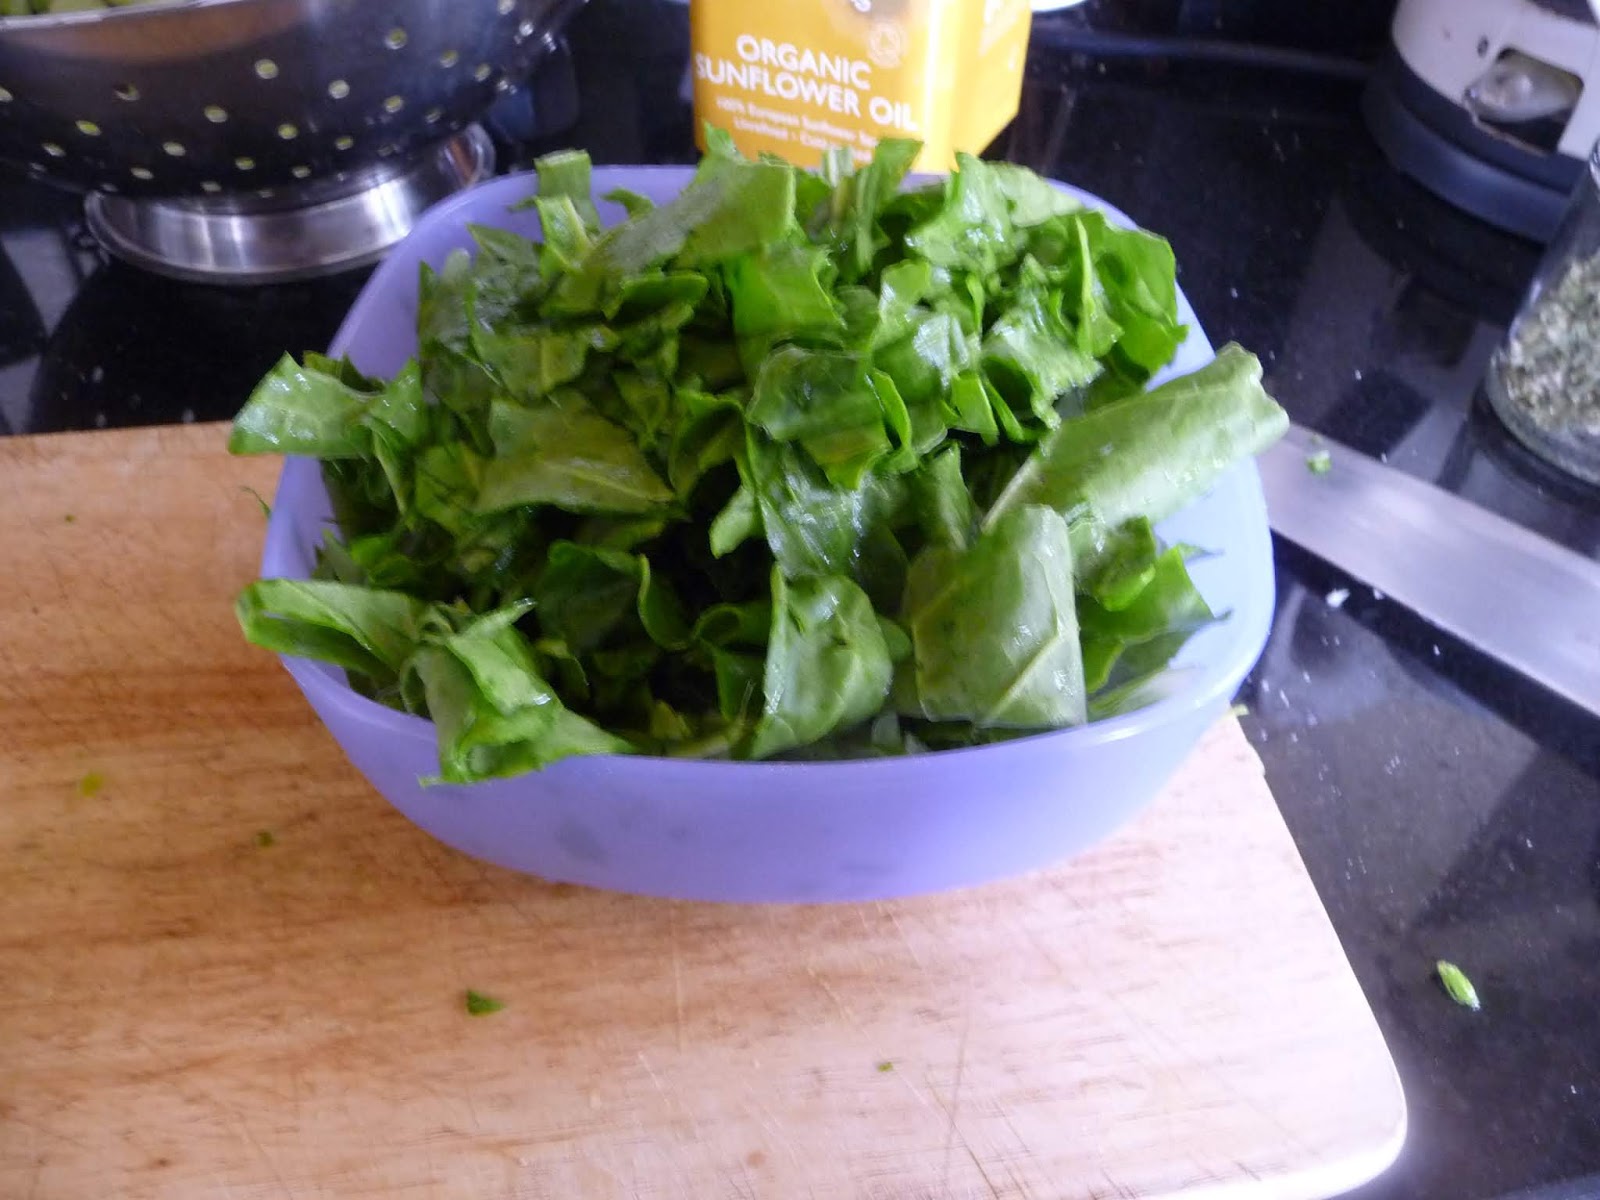
c. 3oz/75g chopped washed spinach beet leaves
1 and 1/3 mug of arborio rice
2 teaspoons dried thyme
2 teaspoons dried parsley
3 teaspoons leek powder
black pepper to taste
c. 2.5 pints/1.5litres  boiling water 
4oz cubed feta

How I did it:

used all of these

used about half of this
After first liquid get a bubble on!
just add feta!
I tend not to do the traditional stir after each ladle of liquid when making a risotto so I added the peas and beans to the fried onion along with a small handful of chopped leaves and the rice, gave everything a gentle stir to warm them through and then added the herbs and leek powder before topping of with enough liquid to cover to the top of the pan. 
Another stir and set the gas heat to medium to get a good bubble on and then put a lid on for about 10minutes.
I kept checking back in and giving a stir every 5 minutes or so until the rice had absorbed most of the liquid and then topped the pan off again, added more leaves and repeated. I tasted the rice once it had absorbed the second pan full and then added about another half pan full, the rest of the leaves and a good grinding of black pepper - I like my risotto quite soft so the amount of liquid you eventually add may vary - keep testing.
Once the liquid has been absorbed I turned the heat right down and added the feta. A good stir and then off the heat and serve.
Enjoy!